

(Editor’s note: During the month of September, we’re publishing a series of articles about selling a collector car. In a repost of a MotorAuthority story published last year, Joel Feder shares a step-by-step guide on detailing your car – a must-do task for getting your car ready to sell.)
For some, a clean car isn’t enough. It needs to be closer to perfection.
A deep cleaning of your vehicle’s paint, including correcting the imperfections in the clear coat, then applying a layer of protection, can make your car look like new.
Once complete, you’ll have a layer of protection on your paint. If done right, the vehicle will look better, feel smoother (why are you touching the paint? Stop that!), and shine brighter. Sunglasses sold separately.
Properly detailing a car isn’t an hour-long endeavor. Depending on the condition of the paint, it could take anywhere from a morning to a lifetime; that shine is addictive. With the right time, equipment, and practice, a vehicle can sit in the sun and never reflect paint swirls, hazing, or scratches.
Based on more than 25 years of detailing vehicles (and boats), along with six years of professional detailing experience, here are my recommended steps to properly clean, correct, and protect your vehicle’s paint.
Precautions and warnings
The risks of scratching, marring, or damaging a vehicle while detailing it are severe. Taking a power tool or abrasive chemicals to a vehicle’s finish increases those risks exponentially. The result could be a marred finish or worse, burning through the clear coat. Then you’ll have a dull spot showing exposed paint, like an open wound.
Following the right process is the start, but trial and error is required to truly master the art of detailing. Practicing on an old hood, body panel, or car no one cares about is advised.
The hardness of clear coats varies by automaker. Vehicles with softer clear coats will be easier to work with and imperfections will buff out quicker. With experience you’ll spot consistent trends and learn that, in general, the clear coats of Japanese vehicles are softer, Germans are harder, and Americans are thicker.
Jewelry and watches should be ditched before starting. Sorry, Honey, the wedding ring needs to come off temporarily. Belts should either be ditched or the buckle should be covered 100% by a shirt.
Equipment
You’ll need clean microfiber towels, paint clay, liquid spray detailer, bug/tar remover, an orbital buffer or rotary polisher with a backing plate, polishing and cutting pads, liquid paint compound, wax, an LED headlight, and bright lights. A good portion of this stuff can be purchased locally at the auto parts store or a home improvement store, but buying online opens a world of choices with typically higher quality products.
All this equipment can be had for less than $1,000, or you could easily spend ten times that amount. It’s an investment in your vehicle. Except for the lighting and hardware, a lot of this stuff will need to be replaced over time.
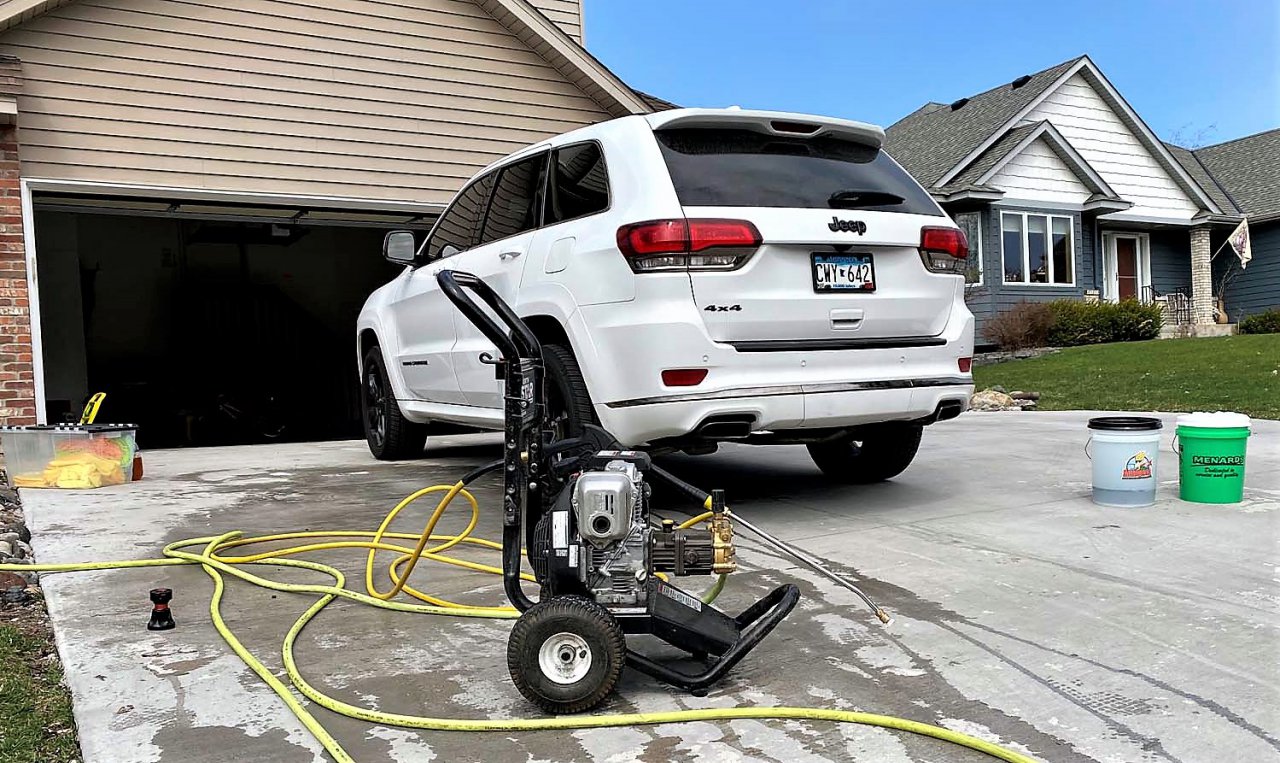
Wash, then detail
The vehicle has to be completely clean from any road grime and debris. Sand, rain spots, pollen, bird droppings, and any other dirt have to go. Here’s a handy guide on the proper way to wash your car.
Location, location, location
Detailing should be done inside, or at a minimum under some sort of structure that protects the vehicle from sunlight and debris. A well-lit garage is the ideal location.
LED lighting has made it much easier to to shine a lot of light on a car. A 10,000-lumen LED light bulb costs less than $100. I have three 10,000-lumen bulbs in my garage. My wife will tell you it’s like looking at the sun. Imperfections in the paint can hide in the shadows and darkness, but they can’t escape the sun or bright LED lights.

Process
Detailing is a panel-by-panel, section-by-section process. Work the vehicle from top to bottom, front to back, starting with the hood. Leave the bottom quarter of the vehicle—lower bumpers, doors, moldings, rear bumper—for last during each step as that’s where the most dirt lives.
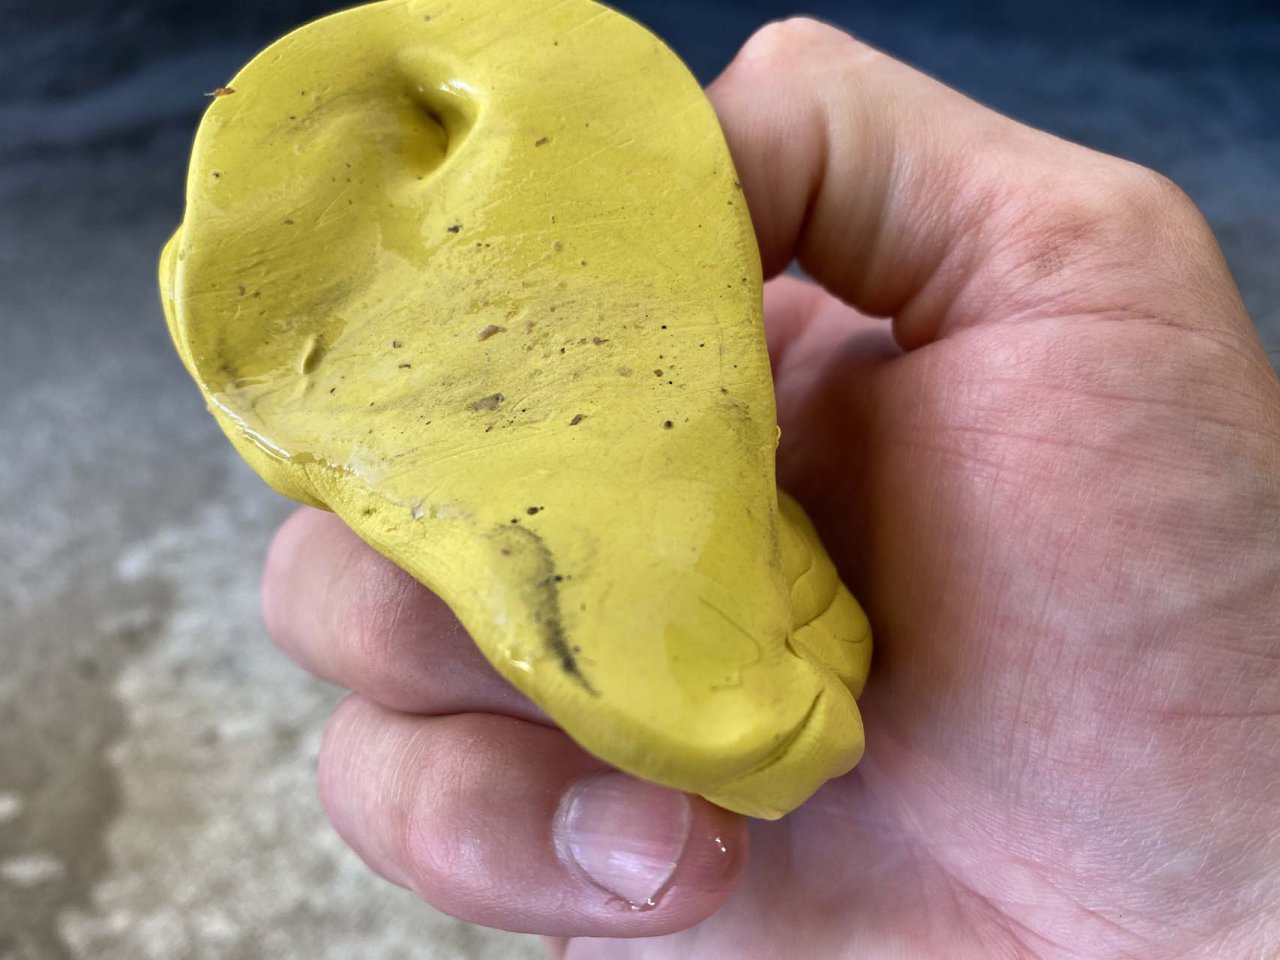
Clay, for cars
After washing the car, clean the clear coat with clay. Skip this step and you’ll swirl dirt and contaminants that you can’t see onto the clear coat.
Some clays are softer and stickier, making them easier to use, while some are harder and less enjoyable to work with. While some bars are as light as 60 or 80 grams, most are 100 grams. I prefer a larger 120+ gram bar to ensure I have more clay to for detailing.

Using liquid detailer, spray a section of the hood and rub the clay bar in side-to-side motions across the clear coat. For the Jeep Grand Cherokee shown here, I broke the hood into four sections. A 2-foot by 2-foot section is typical. Once you’ve gone over the entire section a few times, stop, fold the clay into itself half a dozen times or so to work the dirt and contaminants into the center of the clay. Dry the panel with a microfiber towel, and feel the paint.
If it’s not perfectly smooth, go over it again. Putting your fingers in a thin Ziploc bag and running them over the paint increases the sensation and allows you to better feel contaminants in the paint.
Repeat the process across the entire vehicle. Start with the hood, and move on to the front fenders, A-pillars, roof, door uppers, rear fenders, and trunk/hatch. Next, move on to the lower bumpers, rockers, and moldings. Never use the clay without folding it into itself half a dozen times or so after a panel and never use a clay bar that’s been dropped on the ground or otherwise contaminated. Never reuse a clay bar. One clay bar for one vehicle.
Remaining bits
The paint’s now clean, but what if you see tar or stubborn baked-on bug guts? Grab a can of bug and tar remover and remove it with a microfiber rag. Real tough stuff can be treated with chemicals such as Goof Off or even lacquer thinner, but these are harsh; touch the wrong part and a piece of trim or decal might droop or lose its shine. Proceed with extreme caution. You don’t need to clay bar these areas again as any contaminants the clay would remove have already been removed.
Paint correction: Decision time
My grandfather used to say, “God only made so much land.” He was right, and automakers only put so much clear coat on a vehicle. Before you correct a vehicle’s paint there are some important questions that need to be answered. Is this vehicle a daily driver that hauls the kids to soccer practice? Is this a supercar or hypercar? Is this a classic? Does this vehicle have single-stage paint? Is this car headed to a concours event that will be judged? The answers to these questions impact the next steps.
You have to decide what level of correction is desired. Play the long game for most vehicles. There are only so many times a high touch area (hood, fenders, rear pillars, etc,) can be corrected before the clear coat runs out. Every time you detail a vehicle and correct its paint it should look better than the last time as you’re building off your previous work. However, that also means you’re removing clear coat each time. It’s unwise to go for perfection every time as you’ll run out of clear coat.
Show cars headed to concours events or sports cars/hypercars/supercars that will rarely be driven or are about to be fully wrapped in protective film should be made perfect.
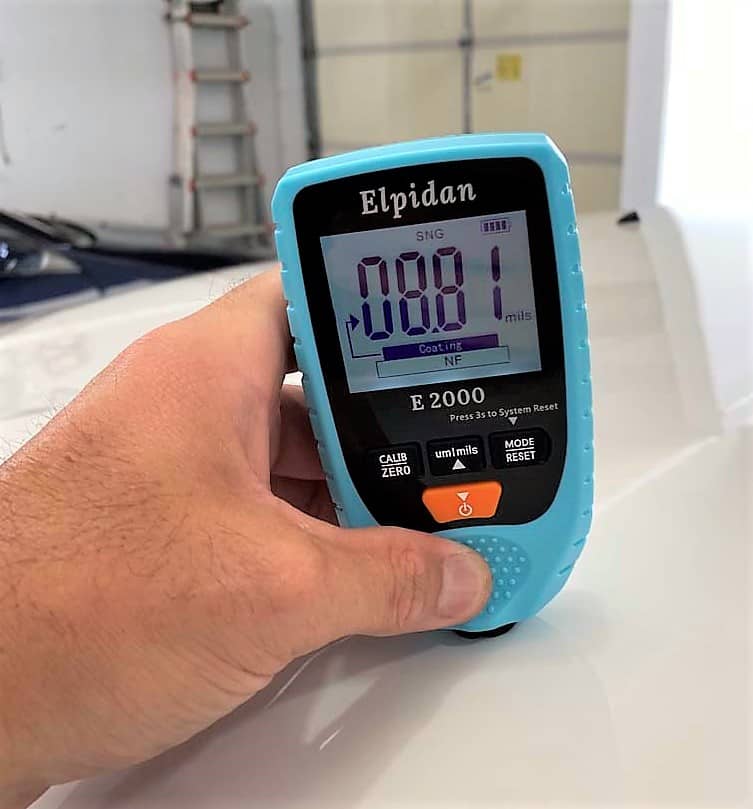
Measure before you cut
Before correcting the paint it’s important to know roughly how much clear coat is on the surface. Between primer, paint, and clear coat, most vehicles have about 4 to 5 mils of coating, though some have a bit more based on the painting process. About a third of that, or 1.5 to 2 mils on average, is the clear coat. The vehicle shown, my Jeep Grand Cherokee, had a thicker coating that measured between 6.8 and 8.8 mils depending on the panel.
A paint depth gauge costs as little as $20, though the more you spend the more accurate and better quality the gauge will be. Get one and measure a few spots on each panel to get a feel for the depth of the coating on your vehicle. This process can show you areas where you have to be careful due to a thinner clear coat.
If a vehicle has been detailed many times, especially by someone without experience, it’s likely there’s less clear coat. A mistake during correction could result in blowing through the clear coat.
Time to correct
Unless you’re trying to fix a scratch you’ll be correcting the paint on your entire vehicle. Otherwise, you’ll have one shiny, swirl-free panel on a marred car. My Jeep is a daily driver and I wasn’t aiming for perfection, just correction to remove swirls, hazing, and micro-scratches.
Correcting your car’s paint is akin to sanding. You’re rubbing a grit on the clear coat to reduce or remove imperfections. Both the pad and compound you use will have grits and cutting and finishing properties. Sometimes it’s necessary to start with rougher grits and work your way to a finer grits. Foam, microfiber, or wool pads can all get the job done. I prefer foam.
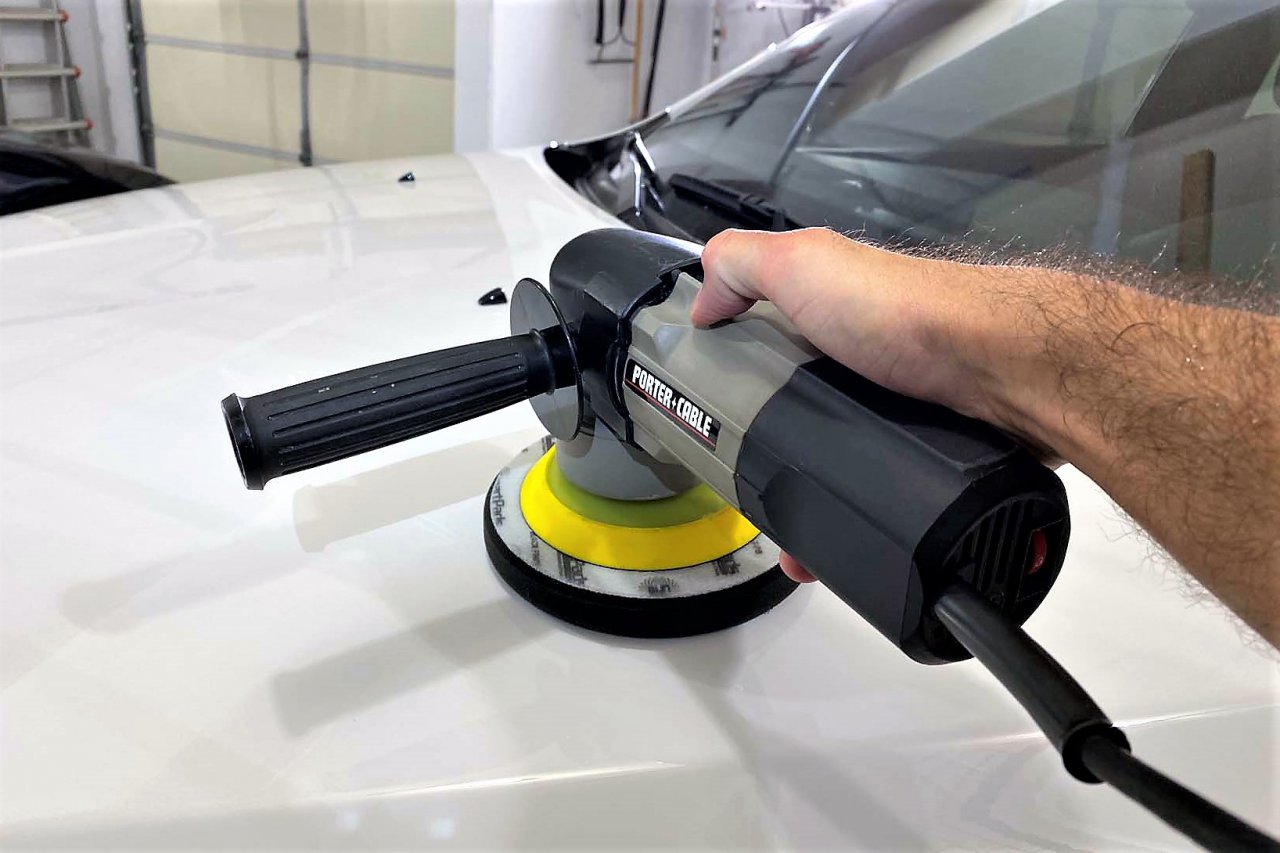
Paint correction can be done by hand with a microfiber rag or pad, but it’ll take far longer and require a lot more energy than using an orbital buffer. It’ll also be harder, though not impossible, to produce the same results. Tools help.
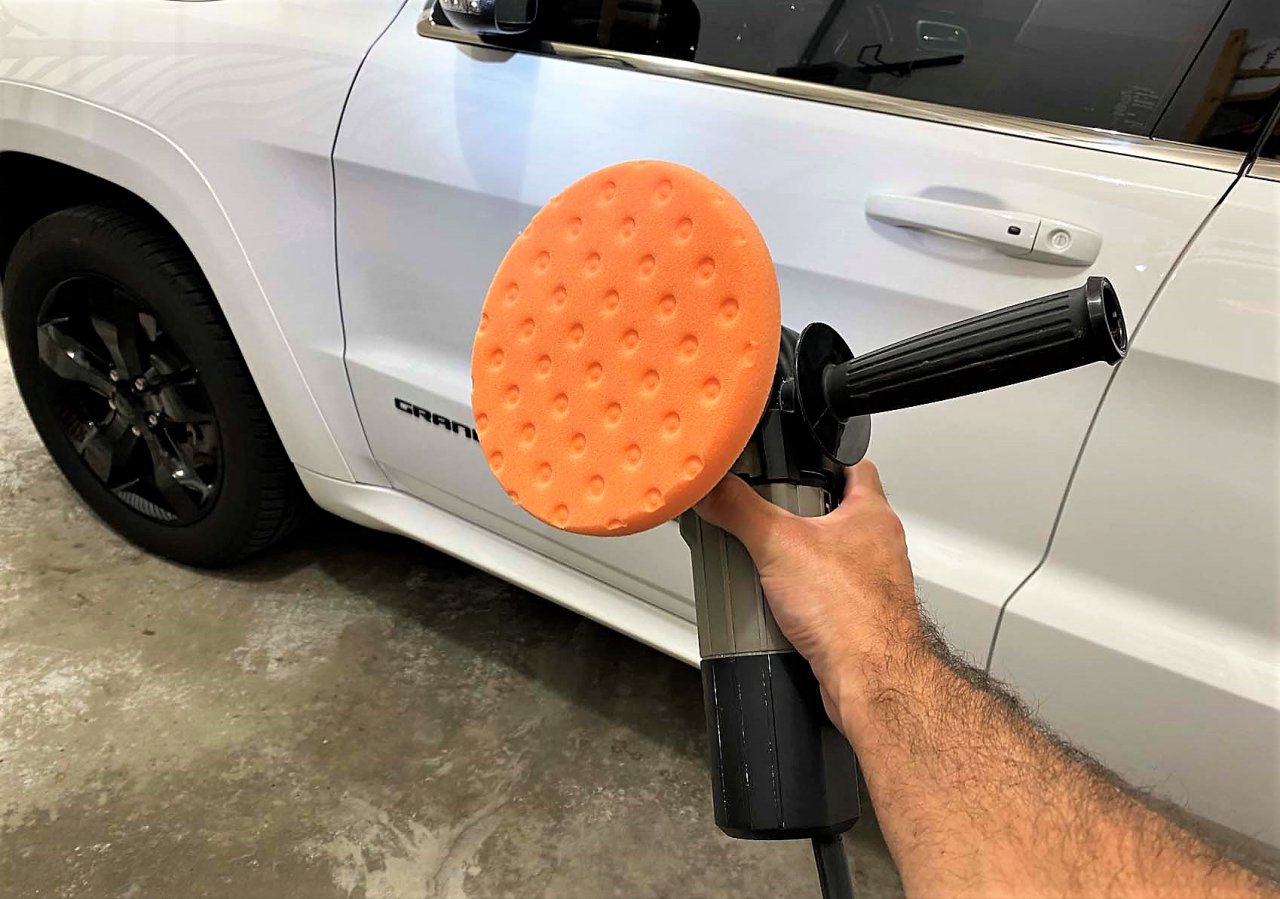
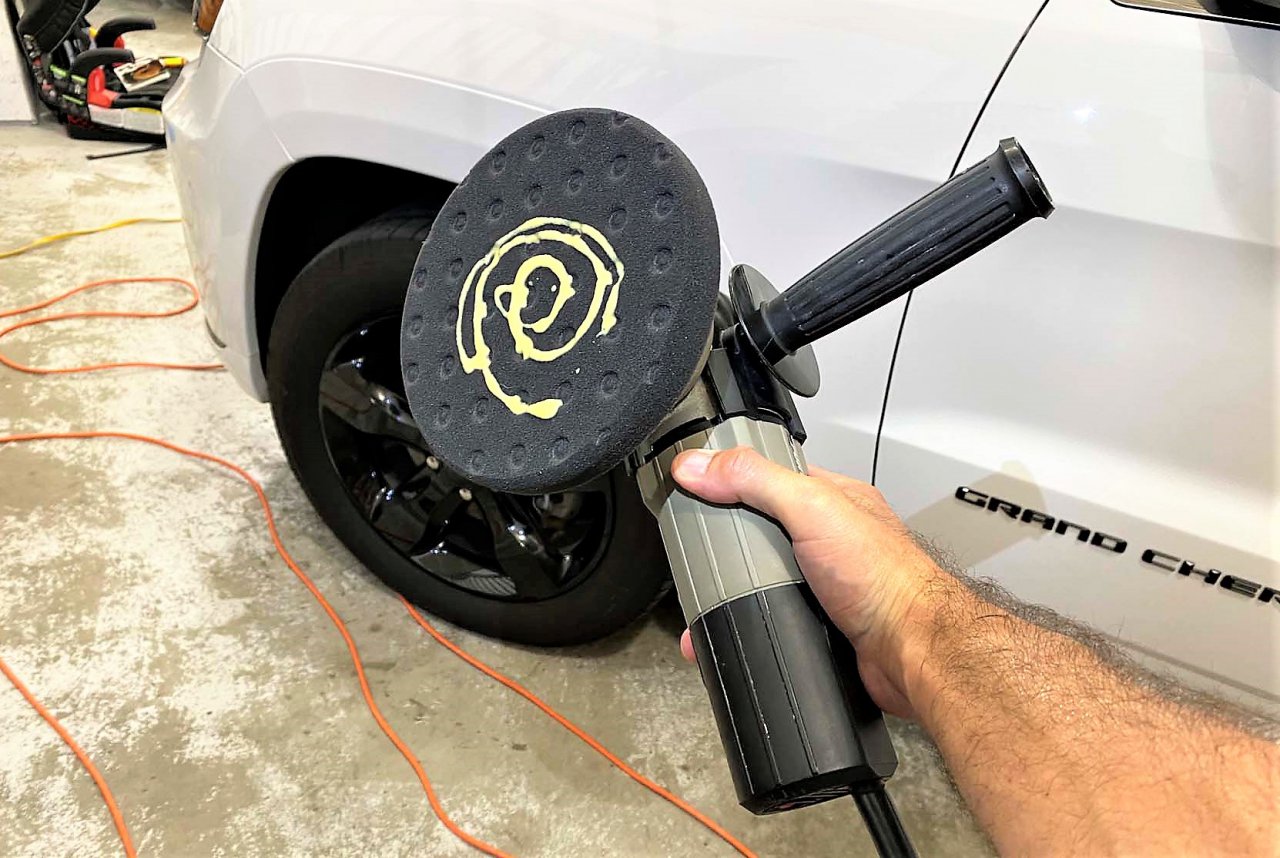
Choose the first grit for your pad—on the Jeep I used a foam light cutting pad—and attach the pad to the orbital or rotary buffer backed by a backing plate. Put three or four fingernail-sized dots of rubbing compound on the pad—I used a 1,200-grit fast-cutting compound—turn the speed dial to three or four, and place the buffer on the panel you intend to work on. Only now you can turn on the buffer. Applying mild, even pressure, move the buffer across the panel’s surface in vertical, then horizontal, then diagonal lines. Scratches, swirls, hazing, and mars go in all directions and just like Pokemon Go you want to try and catch them all. When complete, remove the compound by wiping the surface with a microfiber rag.
Now check your work with an LED flashlight. Look directly at it and from side angles to check the progress. It’s important to check each section after these passes. Rinse and repeat section-by-section, panel-by-panel for the entire vehicle. Yes, you can do taillights and headlights. Yes, you can do chrome. But it’s important to know what compound and pads you are using on these things and ensure it’s the same grit level that you want for the clear coat.
Correcting is done in stages, just like sanding. If a vehicle’s clear coat is in rough shape and this is a car that is being made perfect it will likely take multiple rounds of correcting with multiple compounds and pads.
Polish and protect
Congratulations! You’ve corrected your vehicle’s clear coat and hopefully not burned through it. Now it’s time to polish and apply protection to your vehicle’s finish.
Just like the correction stage, this can be done by hand with a microfiber towel or pad, but it’ll take far longer and it will be hard to produce the same results as an orbital or rotary buffer.
At this point, evaluate where compounding and correcting has left your finish.
If the finish could use one more step, a cleaner wax can be applied with a very mild finishing and polishing pad on the orbital buffer or rotary polisher. This will add another layer of protection while helping clean up a few tiny scratches.
The last step is to apply a wax or sealant with a fine finishing pad on the buffer. This provides no correction and instead applies a layer of protection that adds a brilliant shine.
Wheels!
You aren’t done yet. Wheels need love too. Some vehicles have painted wheels while others have steel, chrome, or painted alloys. It’s important to protect your wheels and to choose the right product based on the wheel finish. If they are painted you might want to correct them so they shine just as brightly as the paint. This is typically done by hand, but some wheels are large enough or have enough surface area that a smaller buffer can be used.
Clean up
You’re hot, sweaty, and tired, but the job’s not done. Wax dust covers your vehicle’s glass, chrome, grille, and other bits. Don’t go through all this work only to leave a sloppy look.
Wipe down the glass with a clean microfiber rag to remove all the dust. Then clean it with an ammonia-free glass cleaner. Wipe down the grille, lights, and trim bits with a microfiber rag. Make sure there’s no wax left behind on any seals, rubber gaskets, or in cracks and crevices such as door handles.
Now you’re done!
Enjoy a beautiful, shiny, and protected finish and repeat these steps every 6-12 months to keep your car looking shiny all the time.
This article by Joel Feder was originally published by Motor Authority, an editorial partner of ClassicCars.com.

Enjoyed your article, What do you recommend to remove break dust on a white car?
Thanks Kevin