Toyotas from the 2000s seem to have an issue with retaining their clearcoat and color over the years. In extreme Arizona sun, my 2008 Toyota Tacoma certainly was victim to bad sunburn — almost down to the bare metal! I was able to repaint the entire cab of my Tacoma with Automotive Touchup’s Ready to Spray line of products in just three days.
Automotive Touchup offers a wide variety of DIY friendly products for projects as small as touching up rock chips to as big as respraying the entire double cab of my Tacoma. I have used the aerosol line from Automotive Touchup before on my 2003 Subaru WRX, when I repainted my front lip and was impressed with the results. What I found most impressive about my experience with the aerosol cans was the fine spray to lay down an even coat. In addition, the color matching to OEM was spot on. It was my first-time respraying anything, and the tools provided with great support from their customer service team I was easily able to navigate my way through to completing the project.
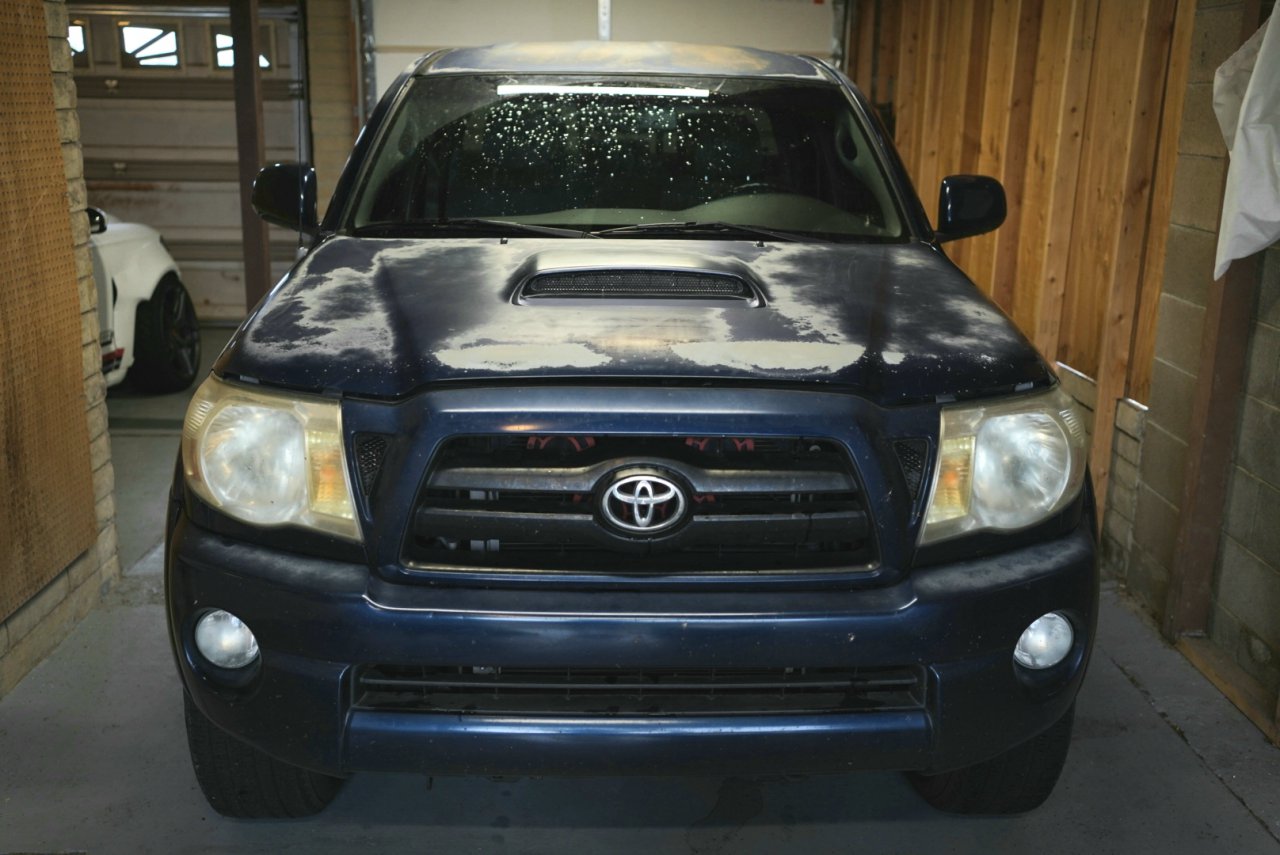
With one DIY project under my belt, I figured it was time to address my sunbaked daily driver, a 2008 Toyota Tacoma. The hood, roof, fenders and doors had severe fading with very little clearcoat left. The worst of it, the roof, had virtually no paint or primer left with bare metal almost visible. Being a double cab long bed, I opted to just repaint the whole cab of the truck. The support team over at Automotive Touchup did a fantastic job in recommended the product line, as well as the quantity after discussing my project. I would highly recommend calling Automotive Touchup prior to any painting project.
Daniel Nikkhoo photo 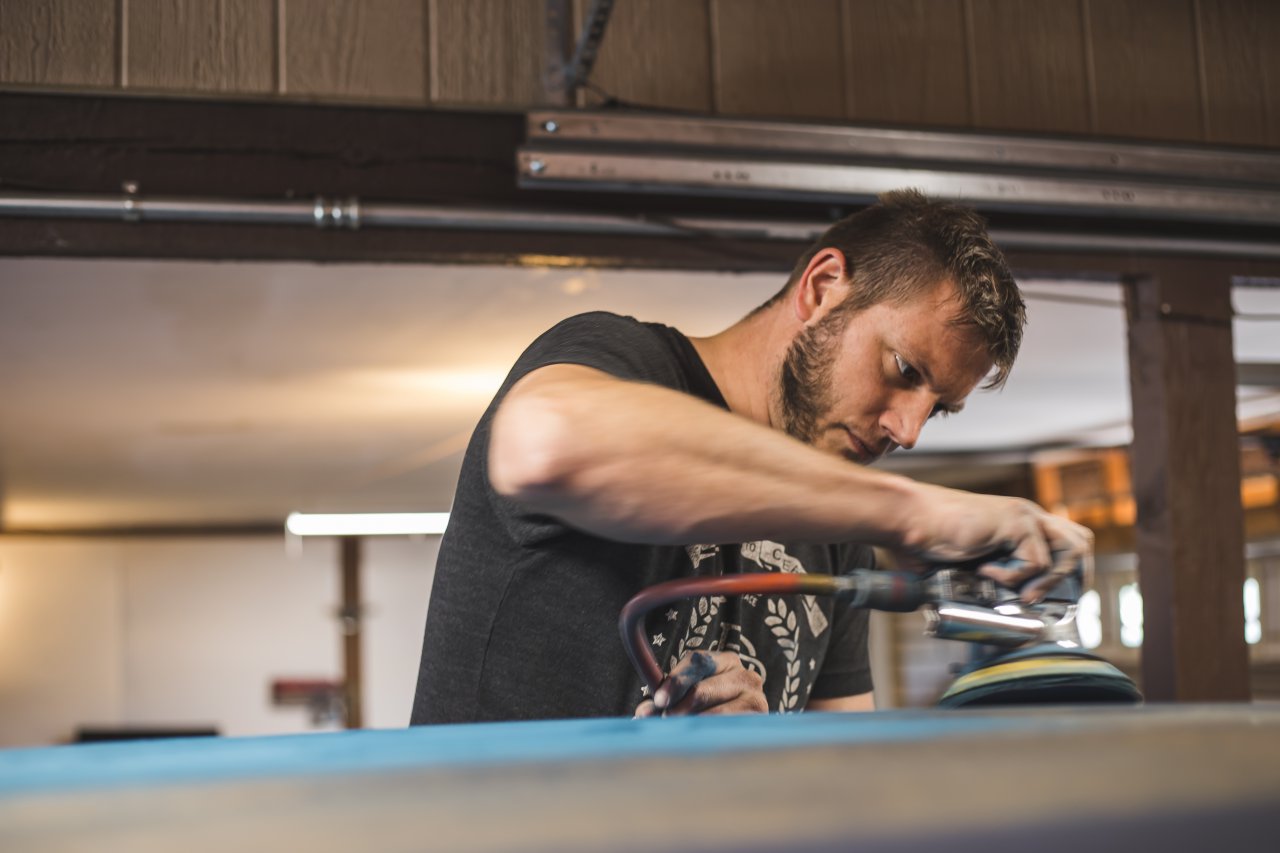
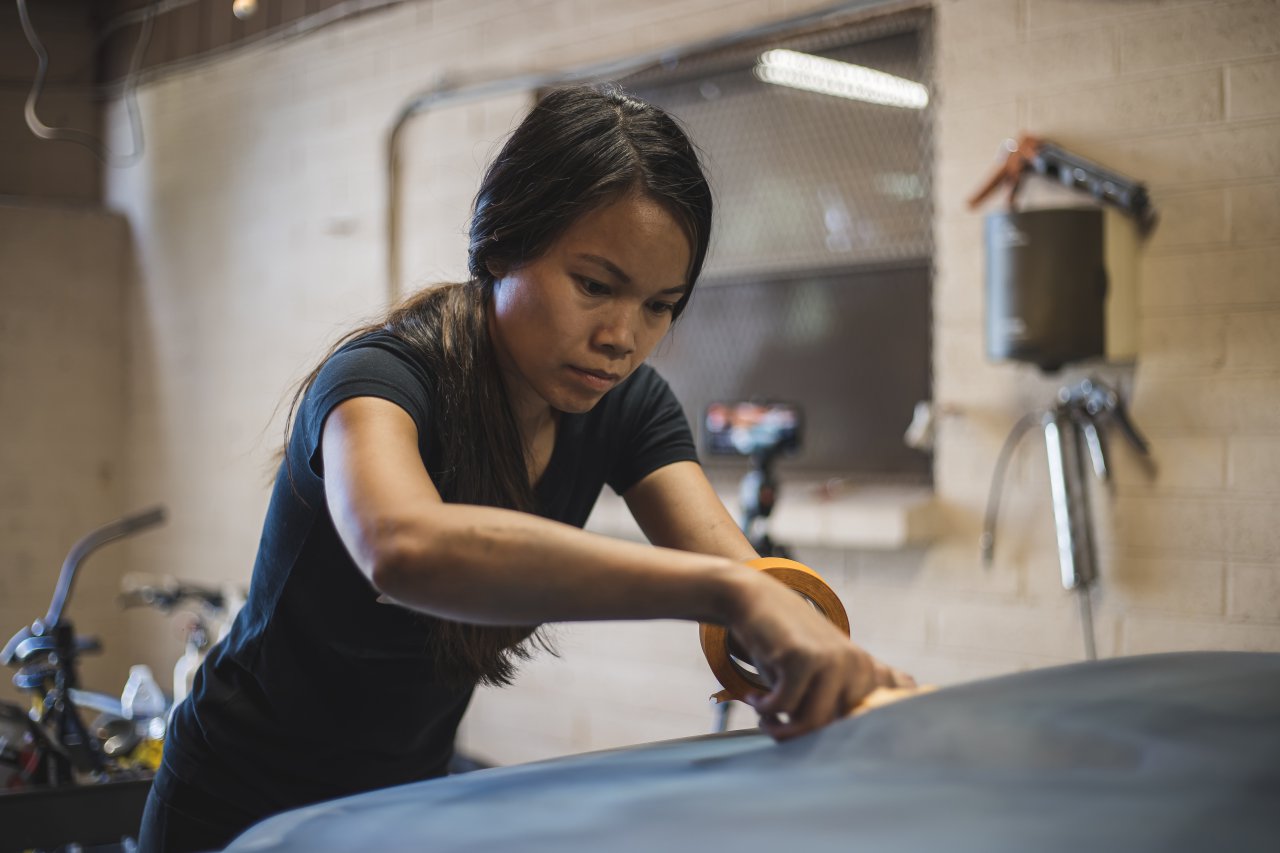
In order to prep and paint the entire cab, I utilized their assorted sandpaper pack, sheet scuff pads, pre-taped masking film, N95 disposable respirator, paint prep surface wipes, about three-quarters of a gallon of their Ready to Spray primer, base coat, and clear coat. Additionally, to save some time, I used some of our own sandpaper sheets that could be attached to an orbital air tool as well as our own buffing compounds to cut and buff after the respray.

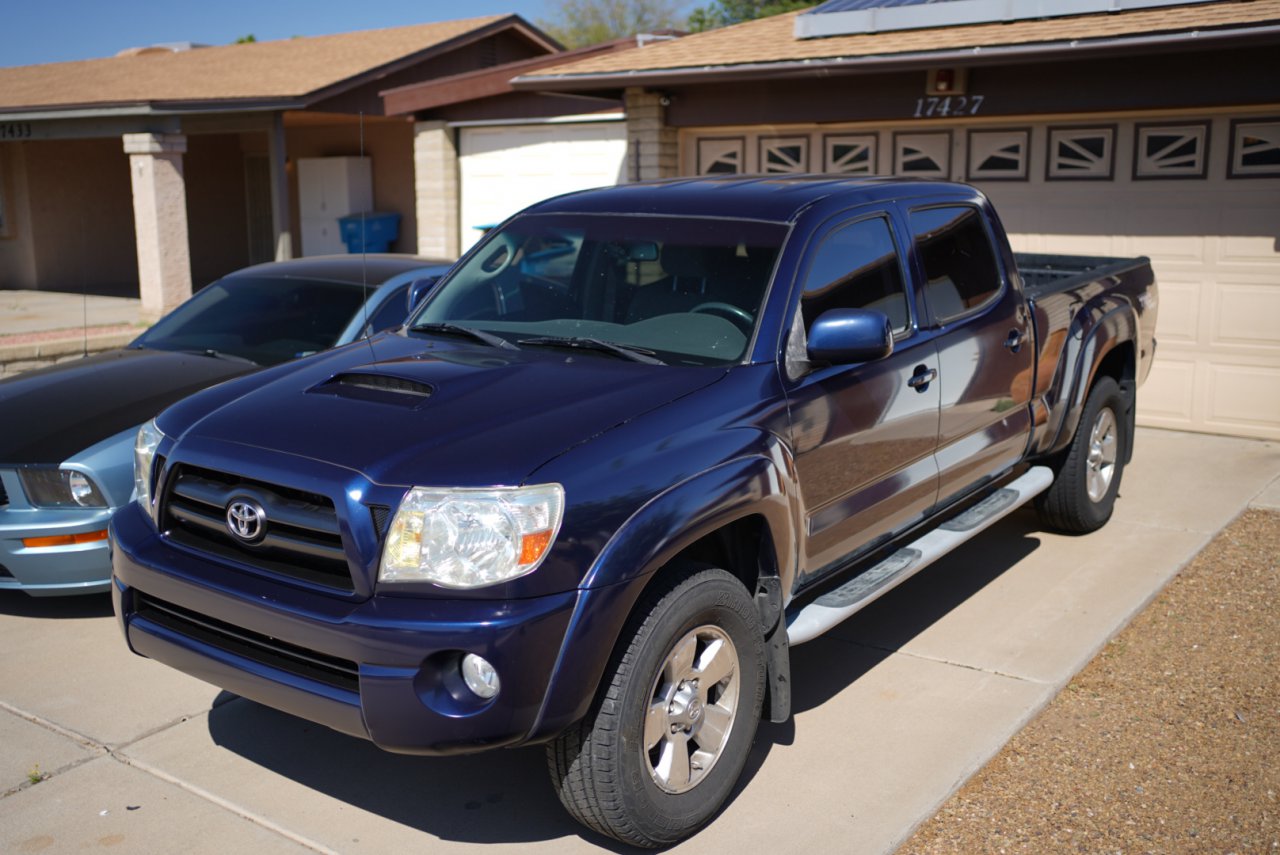
Overall, I was happy with how the products performed and how easy they were to use. One issue, however, was the clearcoat. For some reason, the clearcoat ended up curing faster than we could almost spray it, so the end product ended up with a bit of a matte look instead of a glossy finish like the aerosol cans. Included in the video, is more feedback on the entire experience. I was helped by my partner, Matthew Soppa, who has had much more experience in these types of projects than I do. Between the guidance from the Automotive Touchup support team and Matthew, the entire project worked well and was DIY friendly.