

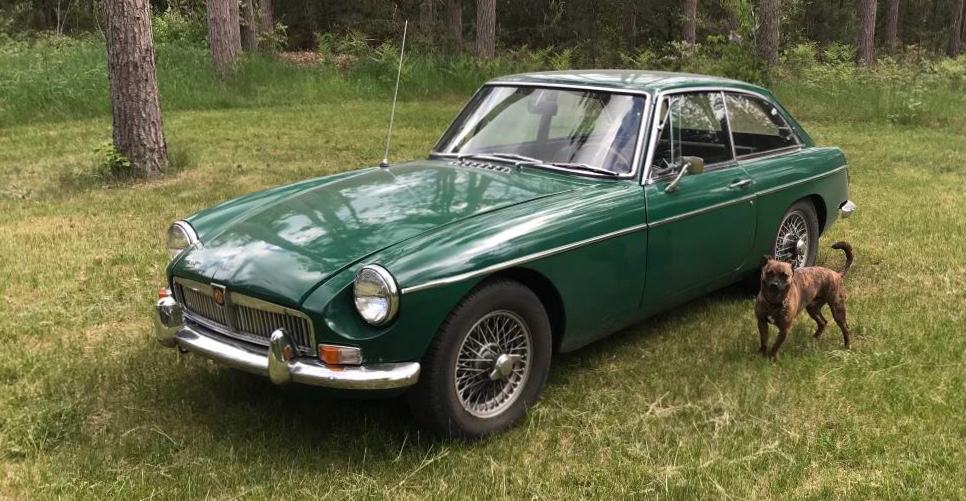
Editor’s note: The first sports car driven by our East Coast editor, Andy Reid, was an MGB, back when he was just 14 years old. But it wasn’t until 2019 that he actually owned such a car, a 1967 MGB GT. He began to restore the car, hoping to be done in time to drive the car to Monterey. That didn’t happen, but as he reports here, the work continues:
If you have ever restored a car you already know — sadly — that setbacks are a part of the process.
With my 1967 MGB GT, the biggest setback has been a lack of time. Traveling to various concours and auction events, combined with a full time classic car insurance job, makes free time to work on a car project hard to find.
Happily, after the recent Arizona Auction Week, I have had some time to work on my MG.
What we found 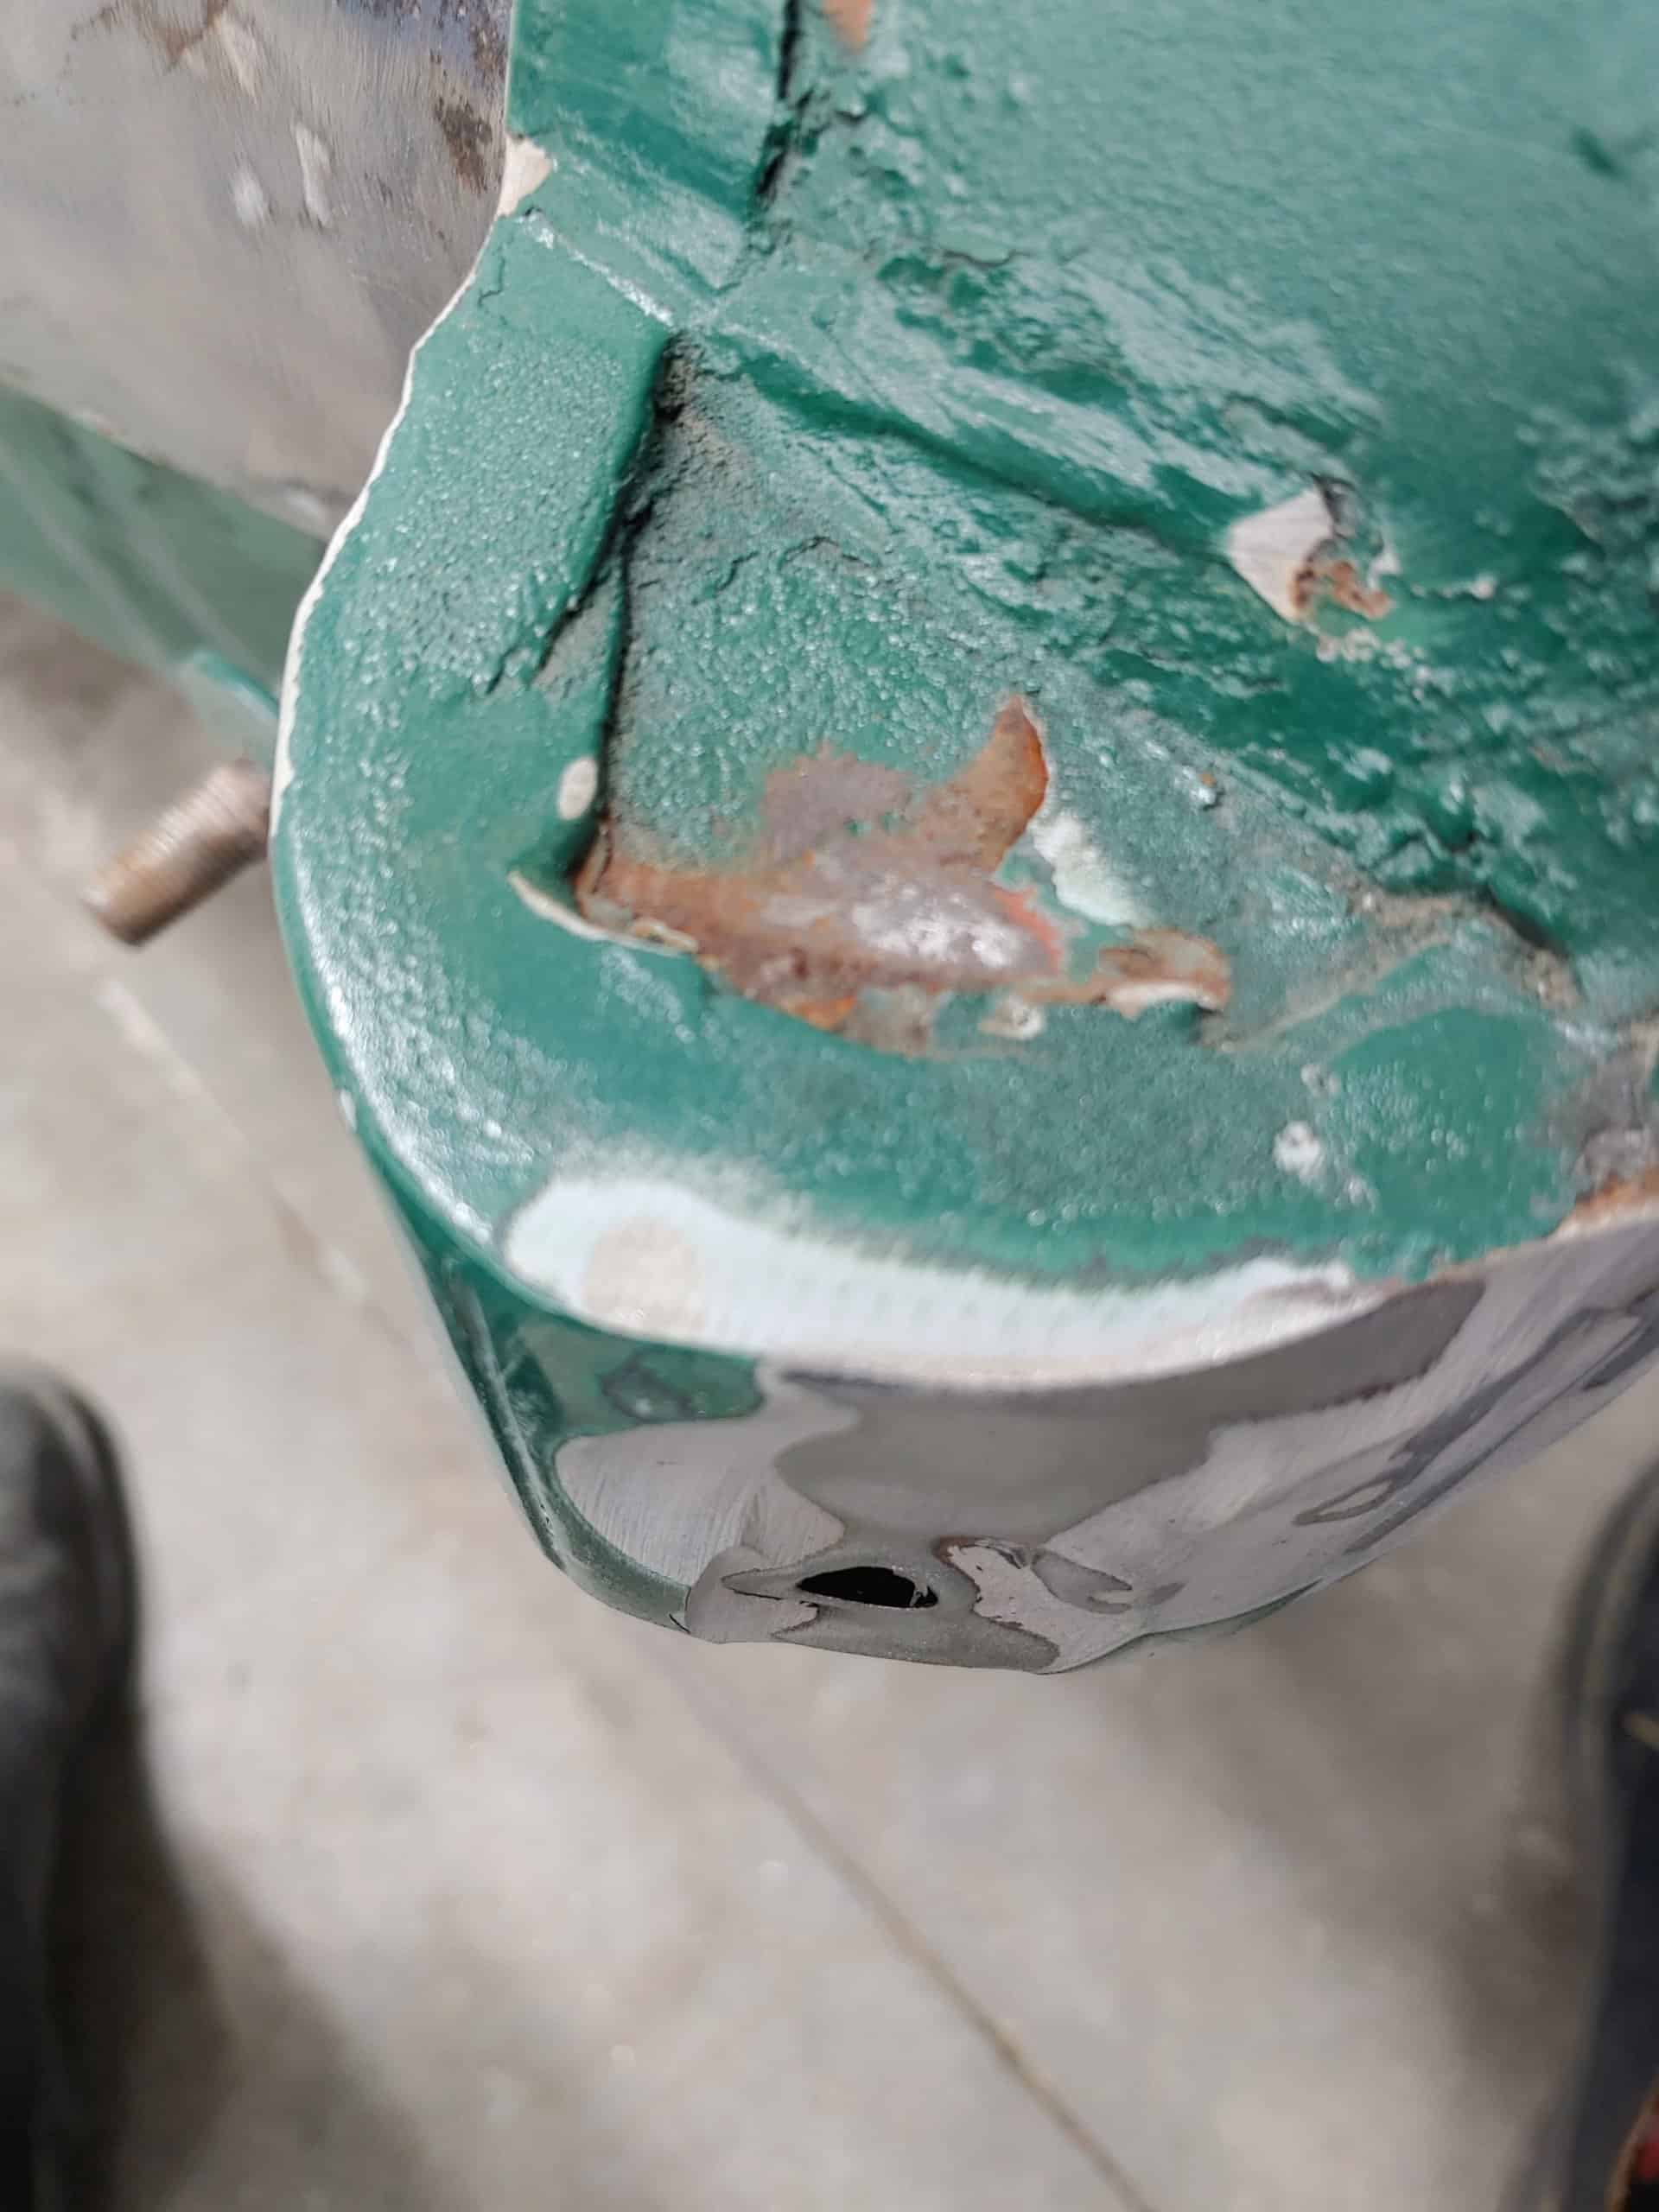
Close up of previous fix 
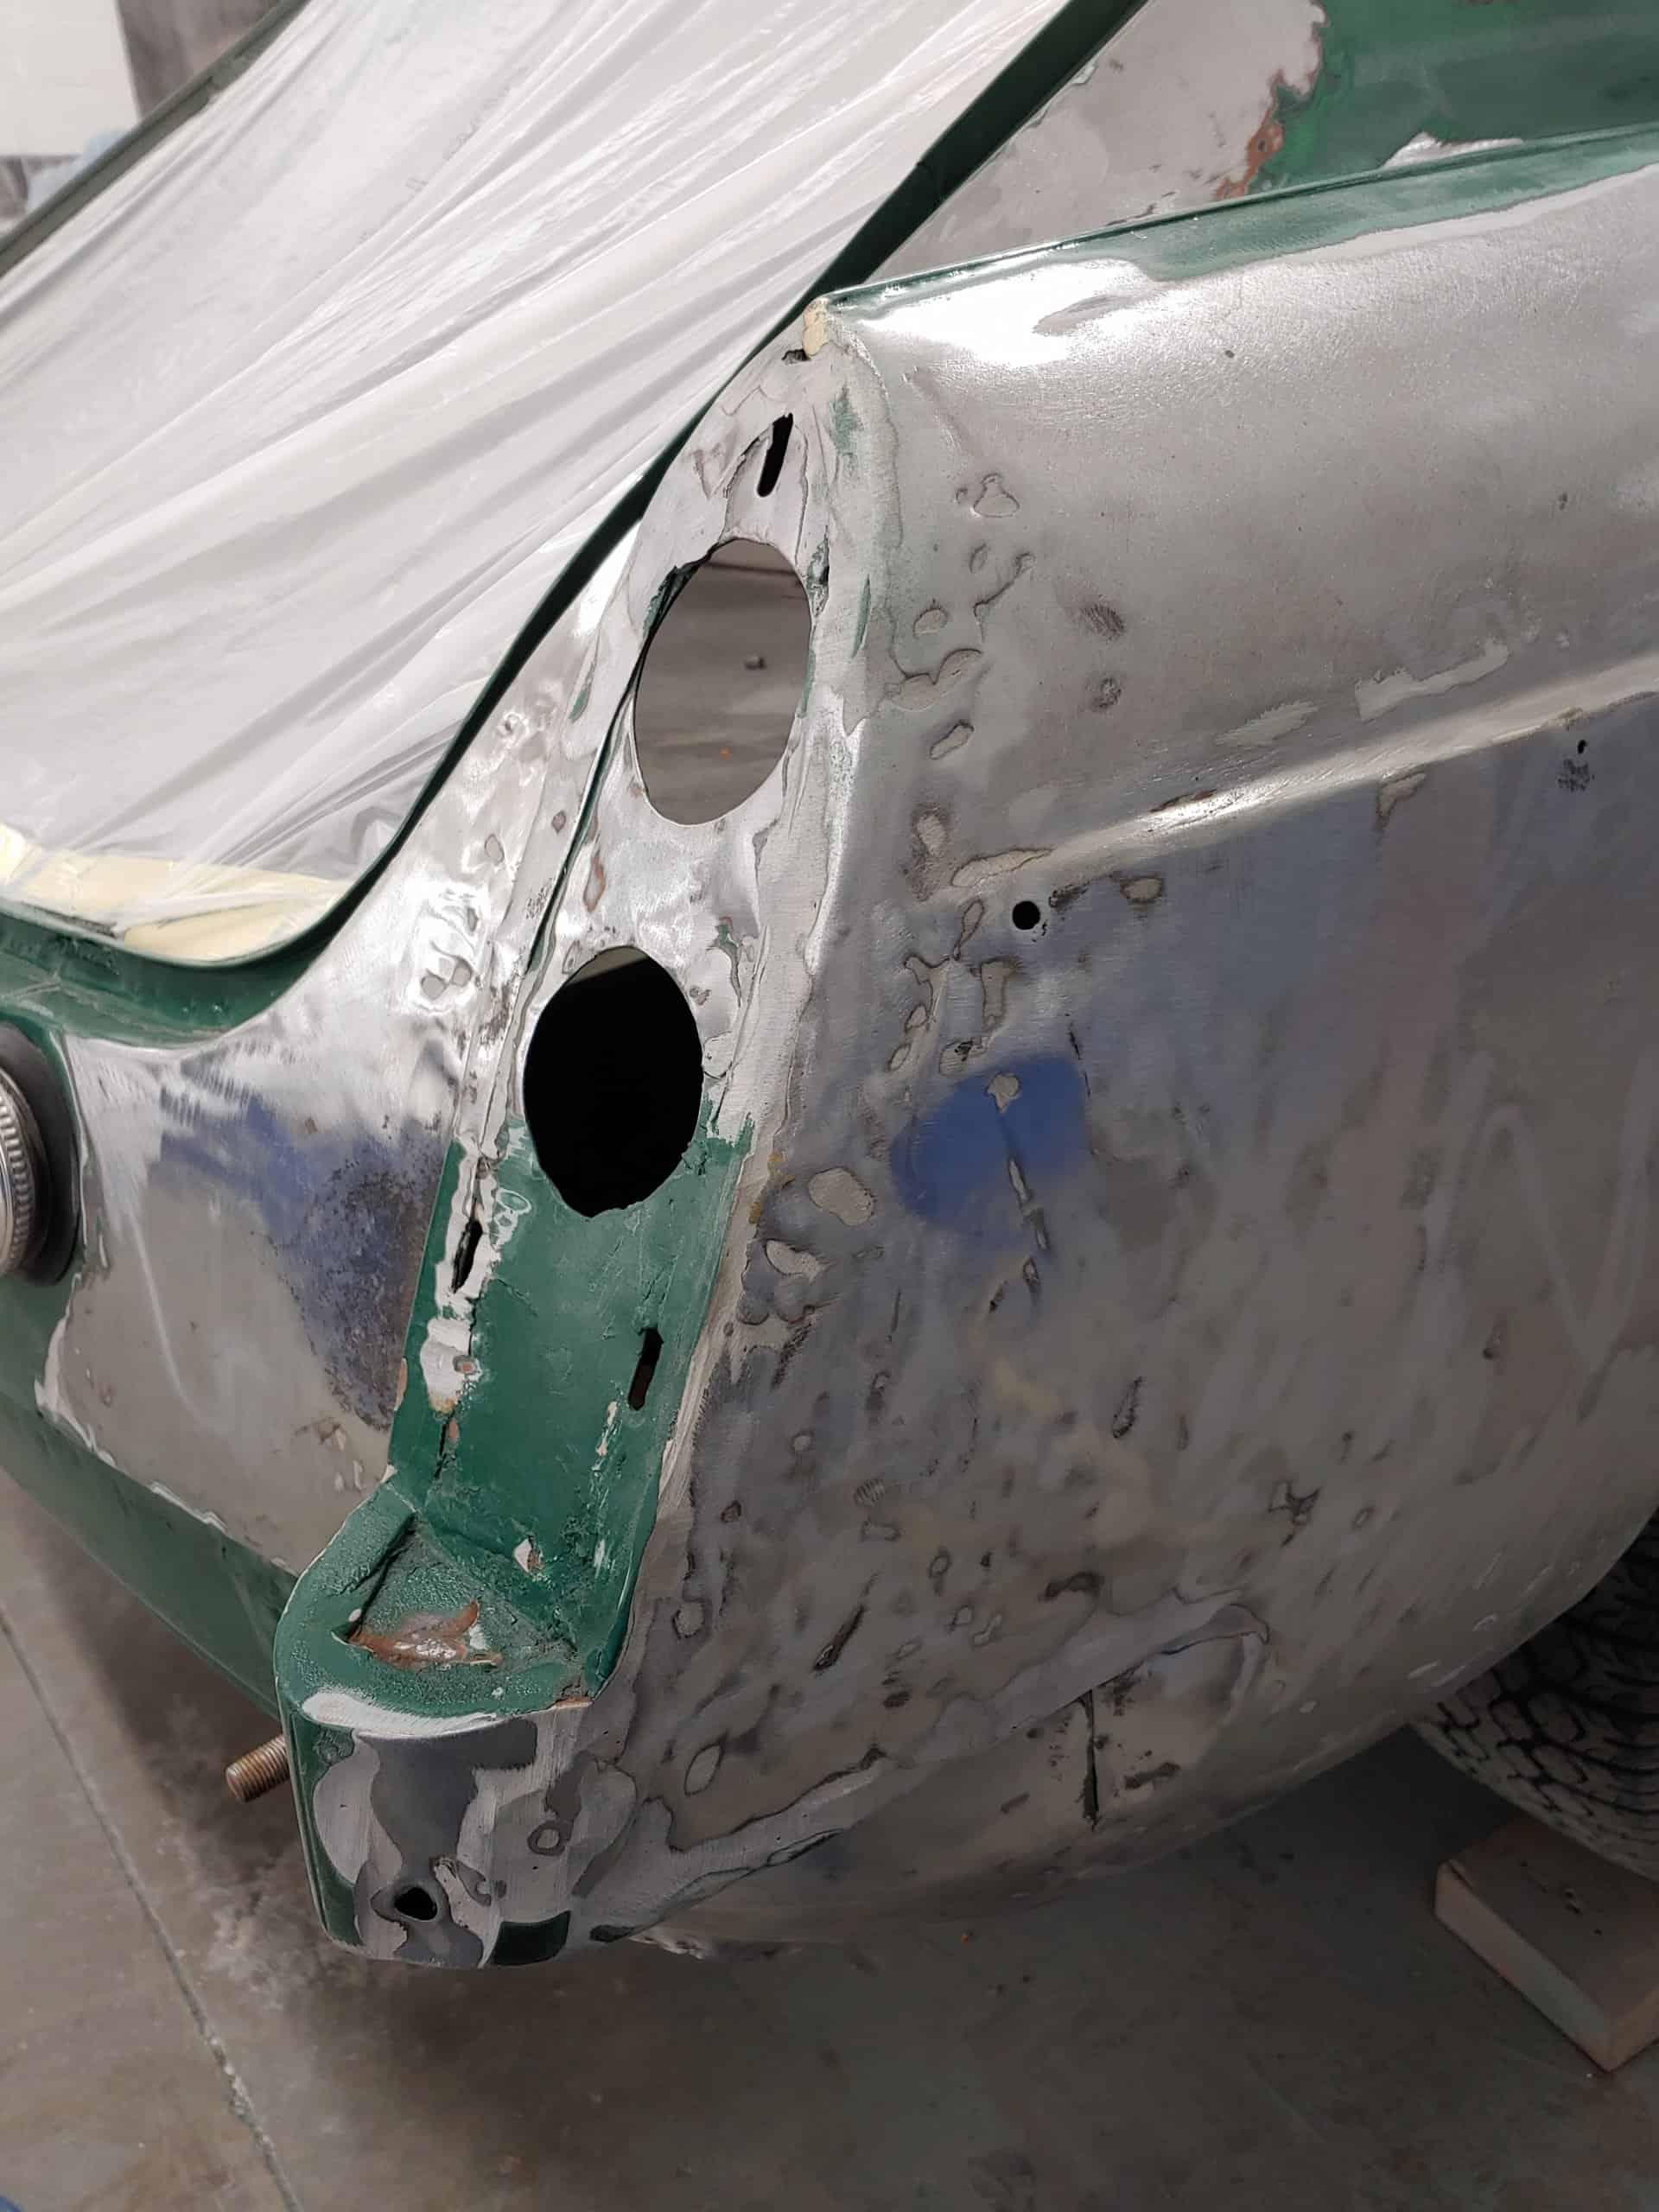
Bad section removed
When I left you last, we had removed the rear quarter panel taillight section from the car. We did this due to the poor repair that had been done decades ago by the original owner. You can see in the photograph the amount of body filler used to cover the damage to that area. This is one of those things that you do not know about a car project until you get the car completely stripped.
After a lot of searching, it turned out that my friends at MG parts supplier Abingdon Spares actually had a New Old Stock right rear quarter panel. It was one that was for a roadster but since we only needed a part of the panel we happily used it.
The reason I sought out a NOS panel is that I really want this car to be made up of original panels, not reproduction parts. This is just my own deal with car restoration, as I really like it when a car has original sheet metal everywhere if possible. This will not make it more impressive as a concours car but I personally like knowing that my car is 100 percent original MG.
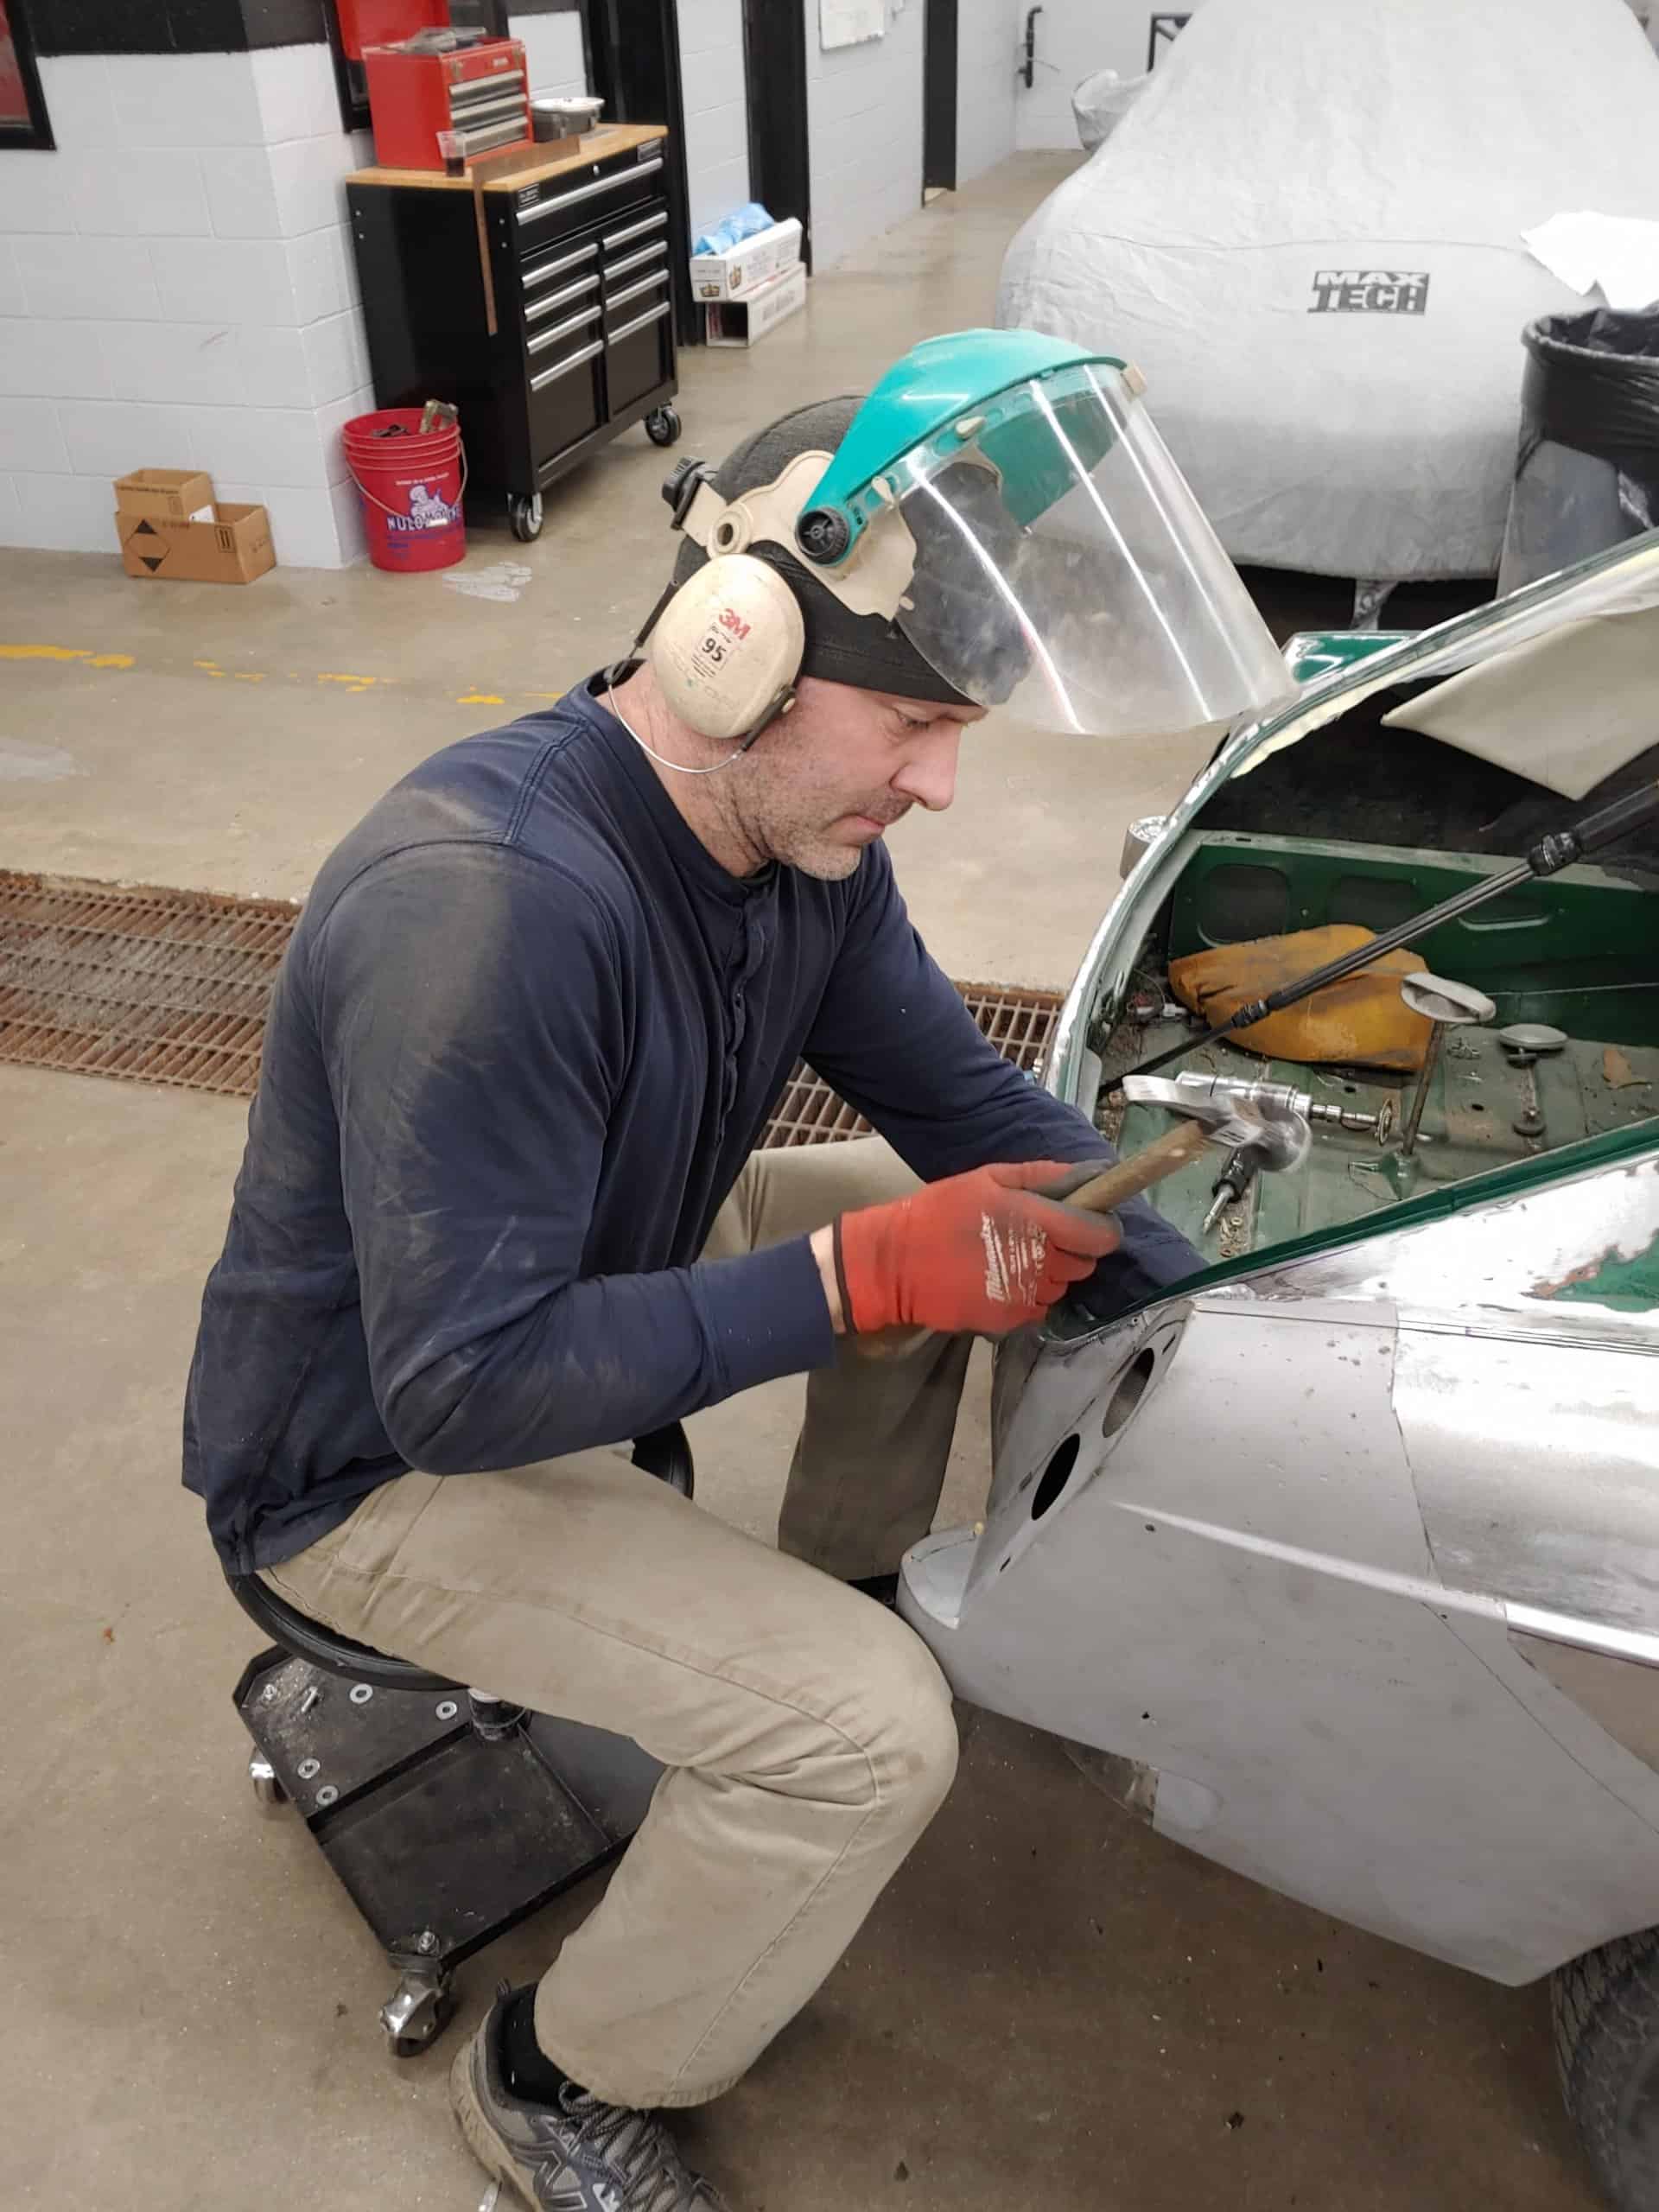
I personally cut out the old panel, but for the fitting and installation I leaned on Jay Hoyt, my friend and expert fabricator at The Paddock. We worked last week to do the final fitting of the NOS panel and he welded the panel in. The fitting took about 3 hours and the welding another 3 hours.

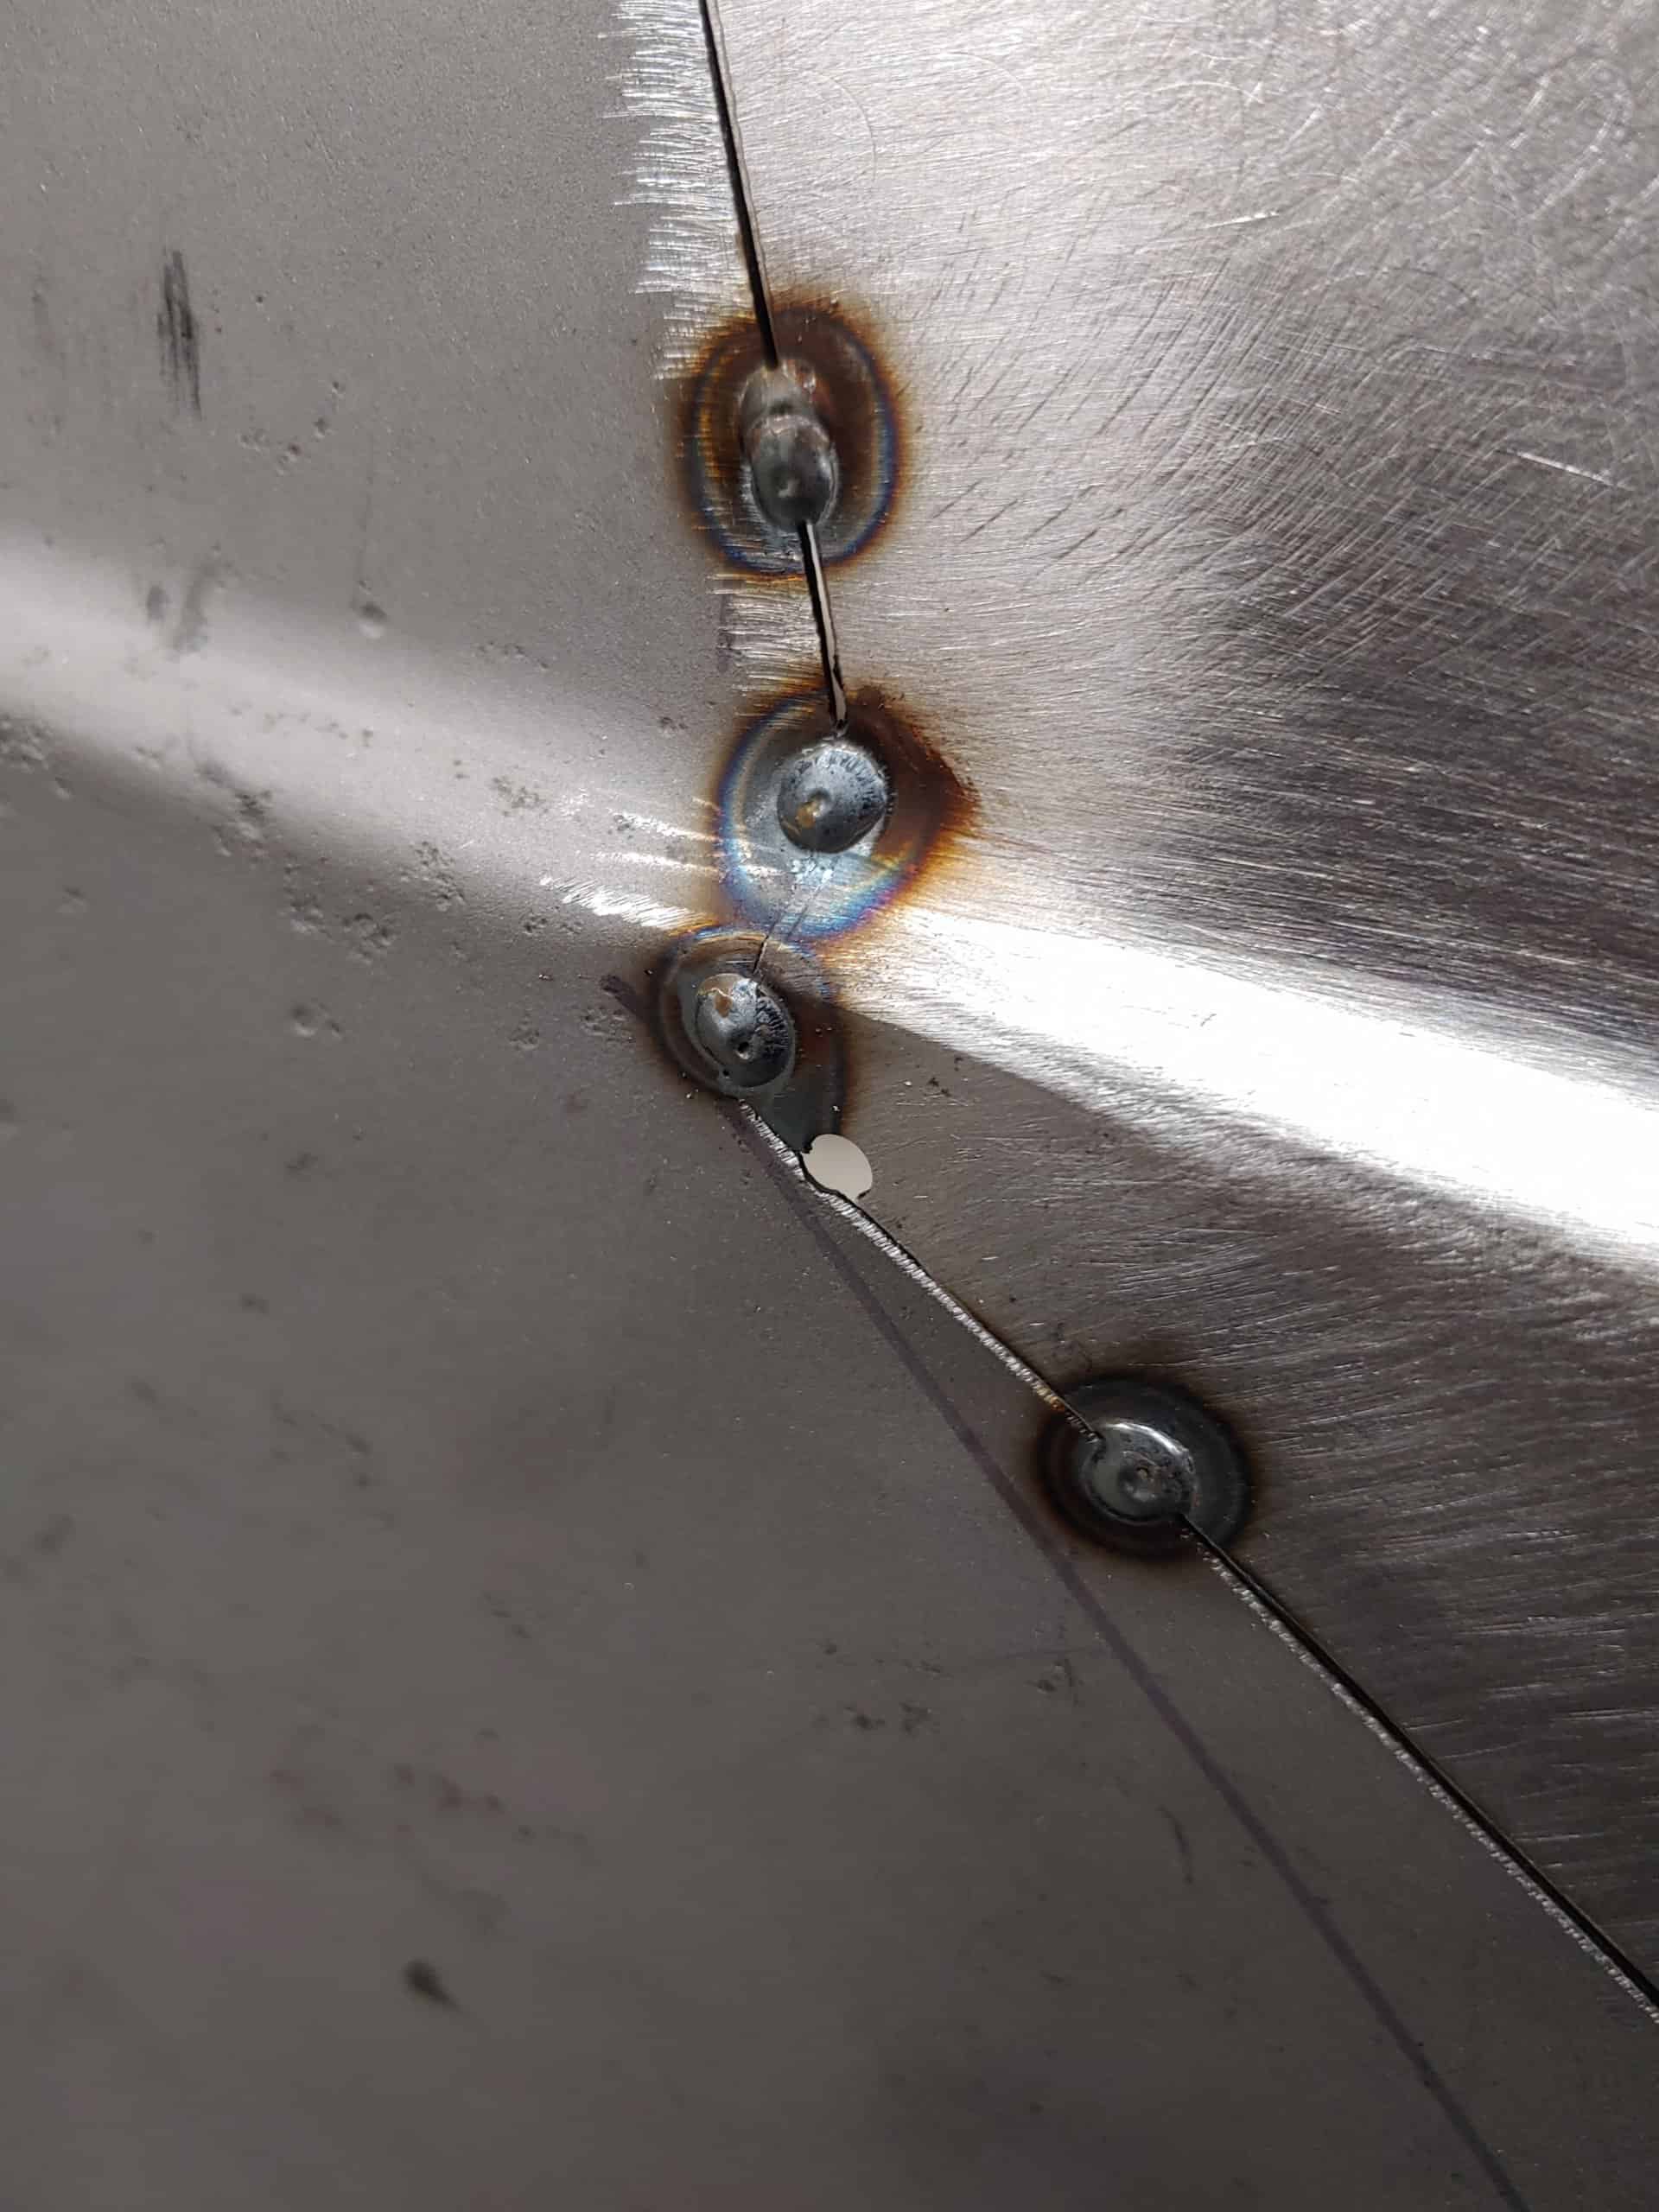
Precise fit 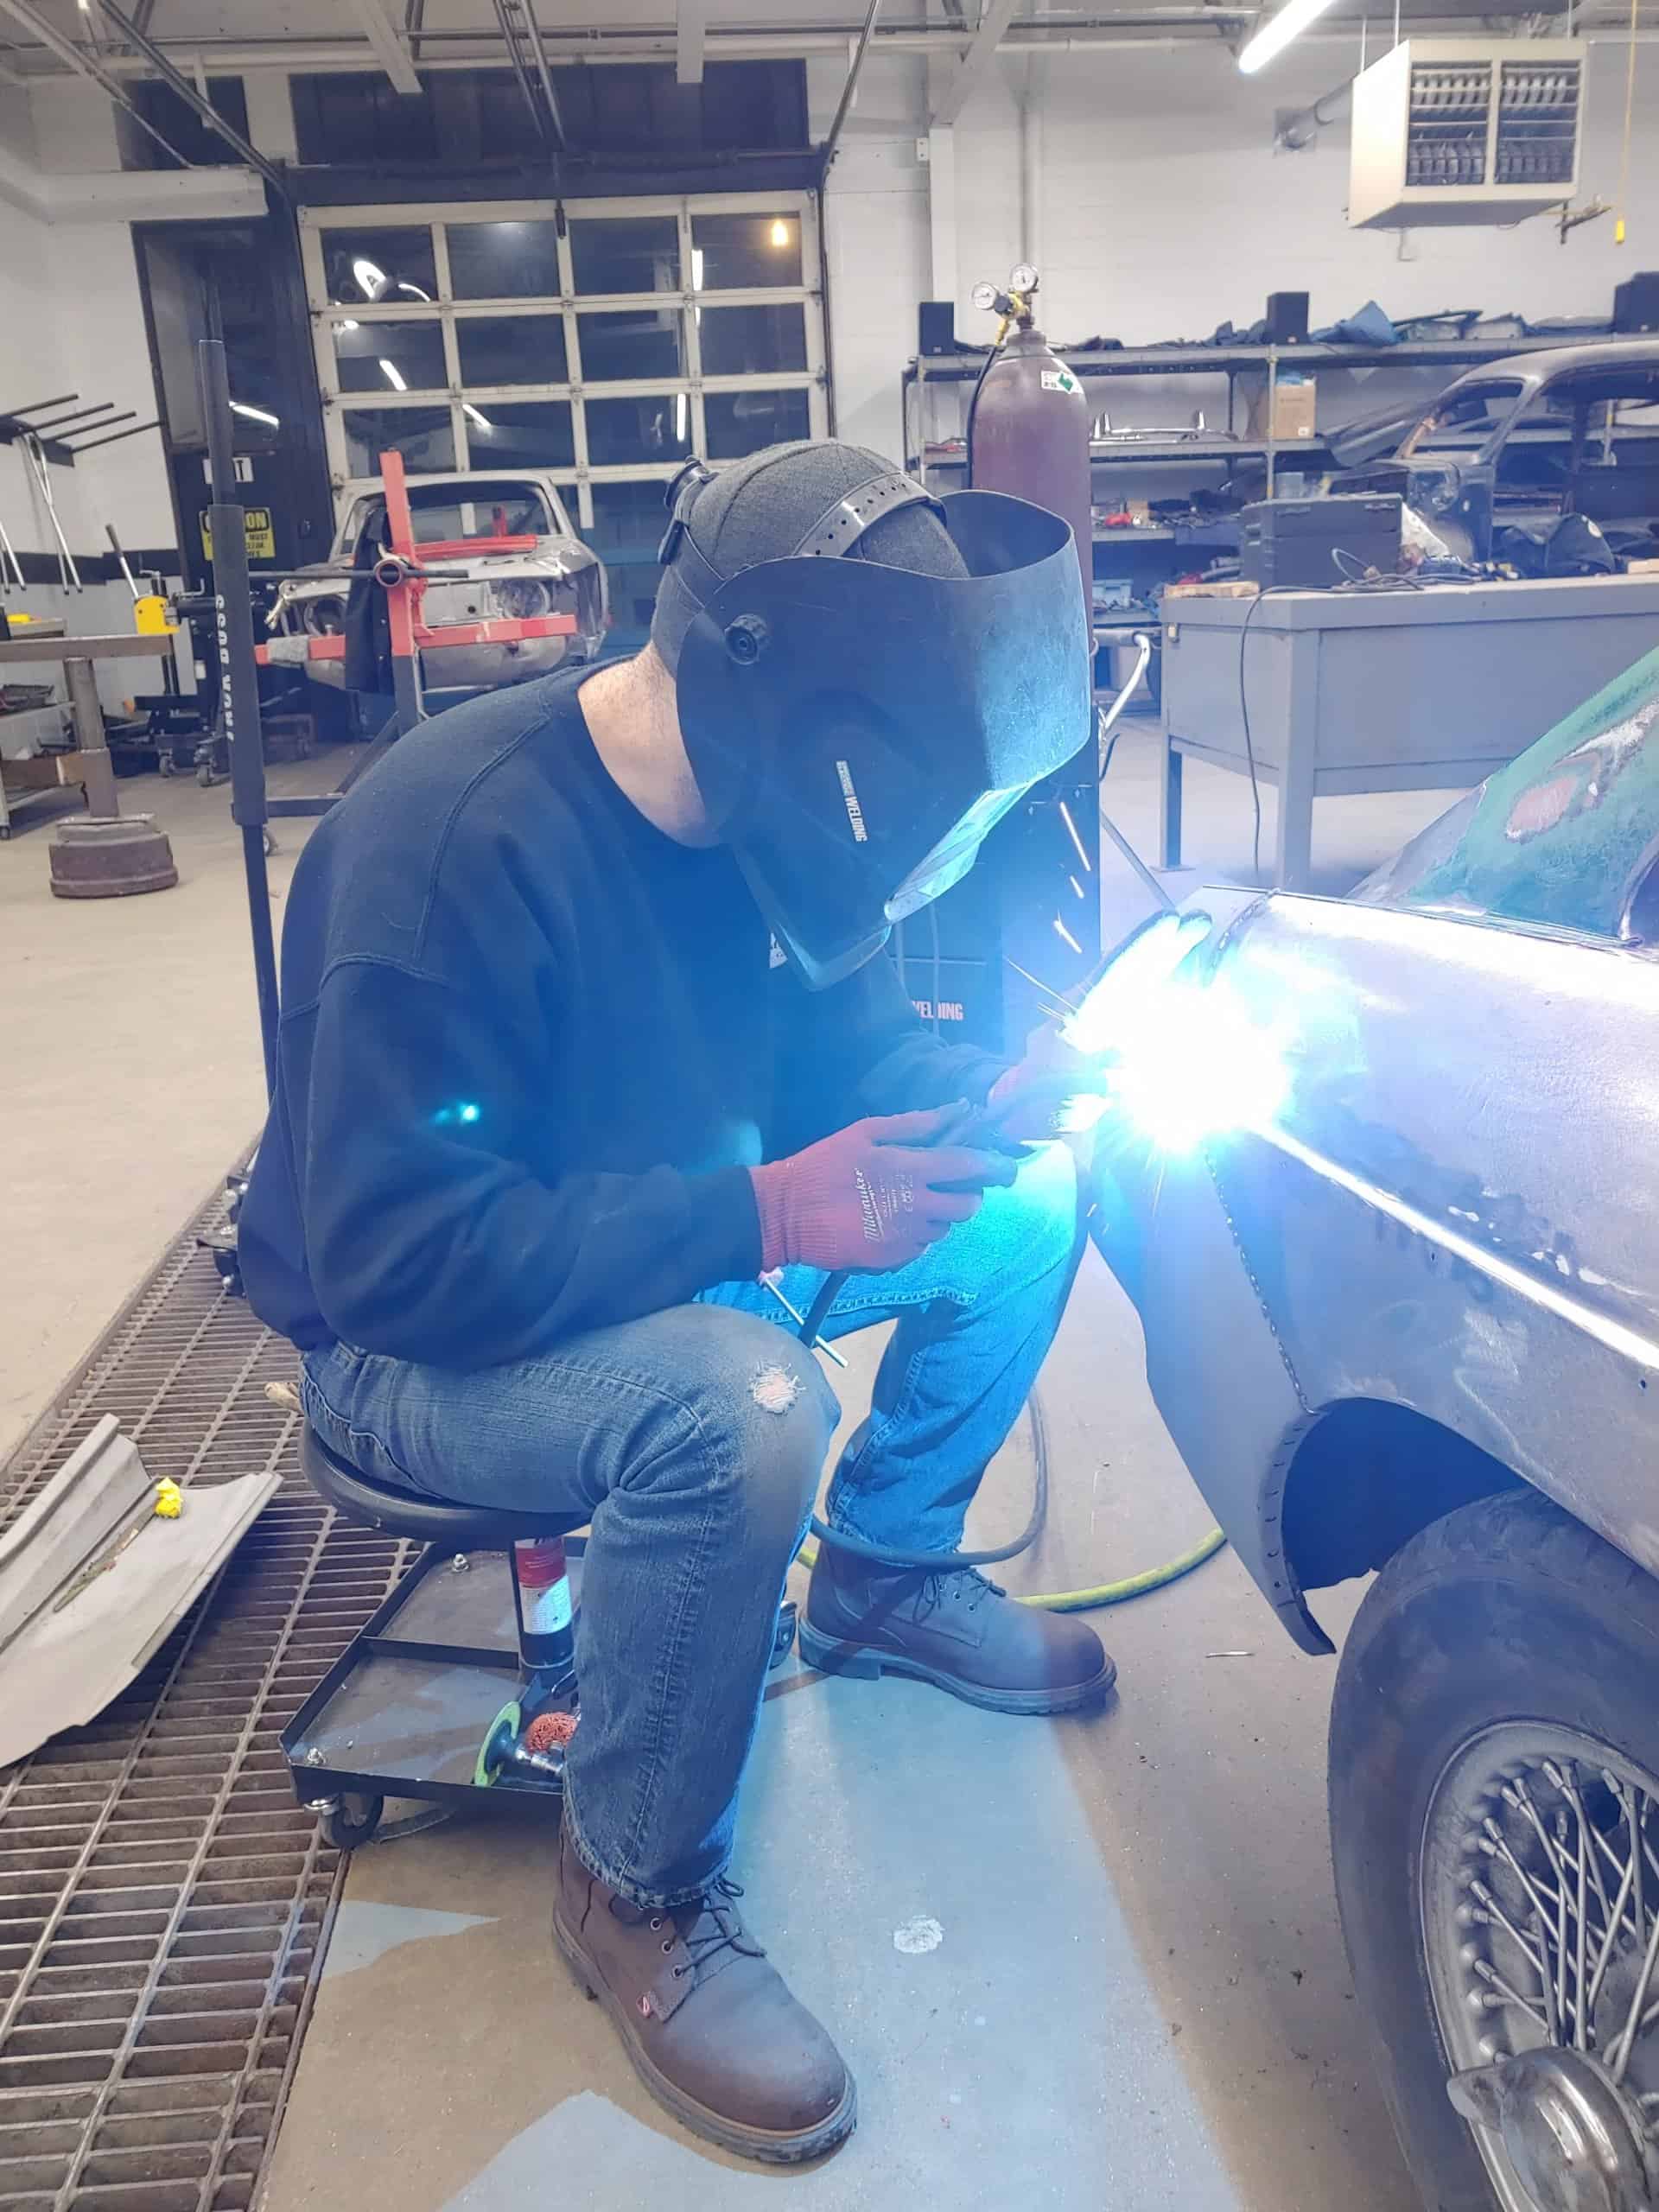
Final welding
One trick I learned while assisting with the panel alignment was to tack weld a junk set of vice grips to the panel and then adjust them to assist with a perfect fit. You can see the results in the photos. Don’t worry; no good vice grips were harmed in the process, only a set of $5 ones from Harbor Freight.
This is an amazing trick: By using vice grips you can literally dial the piece into a perfect fit.
Next up: The final grinding and finishing of the taillight assembly, followed by the surgery needed on the left front fender.
However, my next update will change gears a bit and cover the resealing of the engine for the car. With the time I can devote now, look for that next update as early as next week.

“Don’t worry; no good vice grips were harmed in the process, only a set of $5 ones from Harbor Freight.” While i agree, I bet Harbor freight might have a problem with that statement! HA HA
I’m curious about the tack welded vice grips. Wouldn’t small magnets, as I have seen used, be a better solution for holding the piece in place pending tack welding?
While magnets are a good solution to hold pieces in place, the size of this repair panel and the force needed to align it, the grips are the easiest solution.
Magnets can REALLY throw off a TIG arc, but MIG doesn’t seem to be affected by it (chalk it up to my learning it the hard way…).
I am in the process of getting an early__pre-reverse lamps__’67 BGT transported down to me, and it will require typical to very much rust remediation. While I am typically not in favor of skyrocketing collector car prices, they do tend to make a project like that more justified…
Good job on Andy’s MGB GT!
Great idea, thanks for showing it!
Looks good. I am a former Voc-ed teacher/ body guy who has performed that function many times. Especially on the front fenders of the M.G.B’s. To unholy a fender it involved the dashboard and windshield. We didn’t use Bondi on the seams. We used Lead. Keep it going!
Great stuff. Can’t wait to read about the engine sealing.
Interesting. Tell us more: Did you use TIG welding or torch? What welding material was applied? How did you avoid warping?
The welding was done with a 110 volt MIG welder. Warping from welding is always a problem. First, extra time needs to be taken to get an exact fit between the car and the donor part. The welds are a series of small tacs with large spaces between them. Eventually the tacs connect and create a solid weld. After each weld, the area is cooled with an air gun. Patience is the key.
Great to see these great cars restored/preserved…..I owned a 71, 68, and 67….in reverse order….all I have is a walnut shift knob and the chrome MGBGT letter from the rear deck lid….coincidentally I will be in Canton CT tomorrow picking up a vehicle having collision repairs completed….
My dog is famous! I hope the rest of the project goes well, look forward to seeing it done.